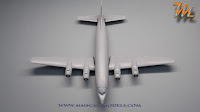
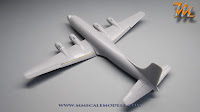
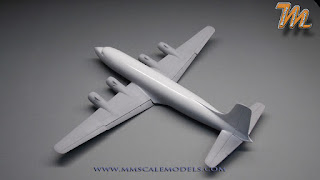
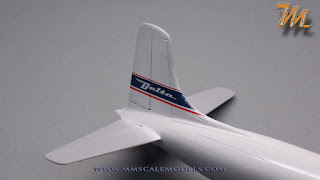
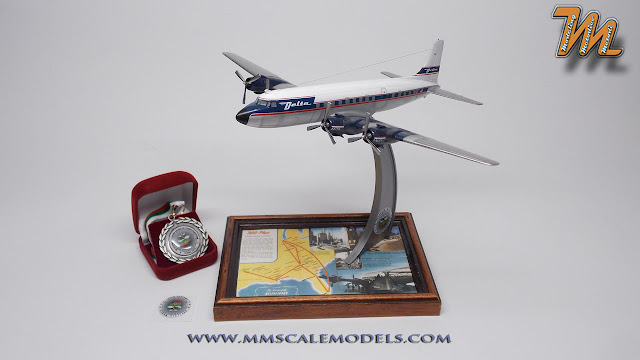
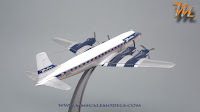
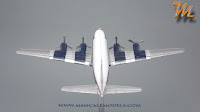
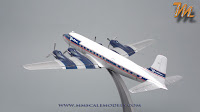
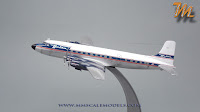
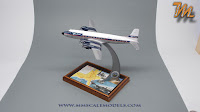
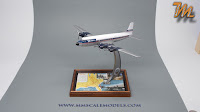
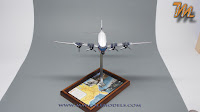
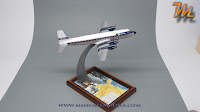
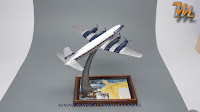
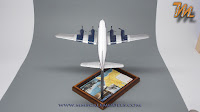
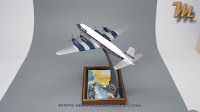
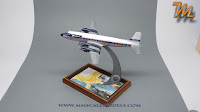
Building the Delta Airlines Douglas DC-6
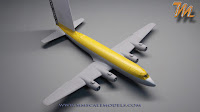
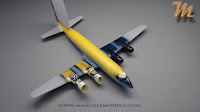
Roden plastic scale model in 1/144 scale, kit number 304
1/144 Delta Airlines Douglas DC-6 - History
The Douglas DC-6
is a piston-powered airliner and transport aircraft built by the Douglas
Aircraft Company from 1946 to 1958. Originally intended as a military transport
near the end of World War II, it was reworked after the war to compete with the
Lockheed Constellation in the long-range commercial transport market. More than
700 were built and many still fly today in cargo, military, and wildfire
control roles.
The DC-6B,
originally powered by Double Wasp engines with Hamilton Standard 43E60
constant-speed reversing propellers, was regarded as the ultimate piston-engine
airliner from the standpoint of ruggedness, reliability, economical operation,
and handling qualities.
Delta airlines
operated the Douglas DC-6B from Dec. 01, 1948 to Dec. 11, 1968 when it was time
for this legendary propeller driven airliner to make place for the jet age.
1/144 Delta Airlines Douglas DC-6 - Assembly
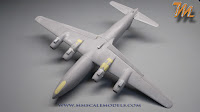
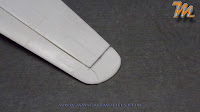
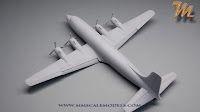
I started this build from the wings. They come in
three piece assembly, with single lower piece and two upper pieces. I glued
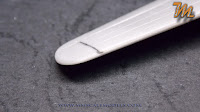
those together using Humbrol’s liquid poly. The ailerons and part of the flaps
are molded on the upper wing pieces resulting thin trailing edge without seam line after assembly. Another nice feature of the single piece lower wing is
the molded in dihedral.
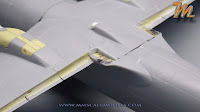
I
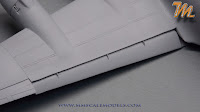
decided to build this model in gear up configuration and therefore felt the
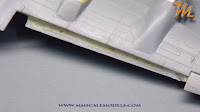
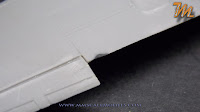
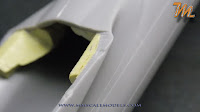
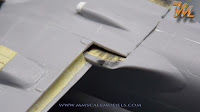
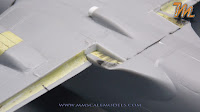
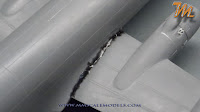
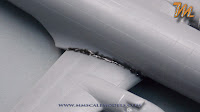
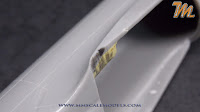
need for livening it up a bit. Part of my plan was to cut the flaps and place
them in lowered position. Before cutting them I inserted appropriate pieces of
plastic inside each wing in order to retain the structural rigidity of the
original assembly. Then, using RB saws I cut the flaps. The gap between the
lower and upper wing parts was filled and shaped with Milliput. The front part
of the flaps was also filled with Milliput and shaped with sandpaper. To better
accommodate the flaps in the wing I thinned the plastic of the upper wing
substantially. Later, using a saw I created slots in the flaps to house the
hinges.
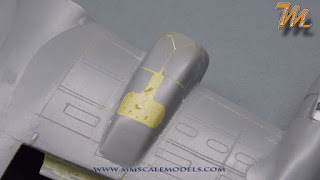
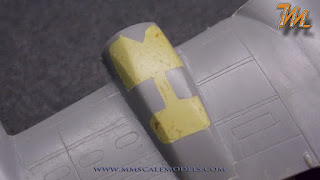
To close the gear bays I first tried using the
covers that come with the kit. The fit was very bad so instead I used Milliput
again. Then I scribed the panel lines using needle in a pin vice.
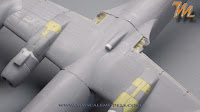
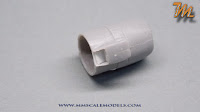
Another
disappointing aspect of this kit was the detail on the engine cowlings and
nacelles. The intakes were blank, the radiator door was not existent so were
the exhaust stacks. To open up the
intakes I used my photo etched saw then folded 800 grit sanding paper to get
close to the correct shape. Having four engines, with two intakes each, was
real mojo drainer.
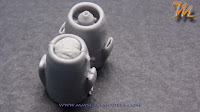
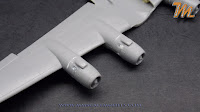
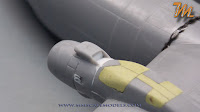
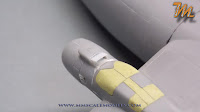
Next were the
exhaust stacks. First I drilled a holes in the cowling and then shaped the
holes and the nacelles with square file. To make the exhausts I drilled holes
in lengths of circular rod then squashed them a bit with pliers to get oval
shape. I cut them to desired angle then installed them in pairs in their beds.
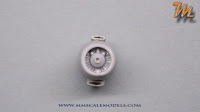
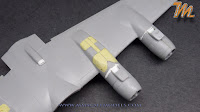
To represent the
radiator heat outlets first I cut the plastic that was blanking this area using
a saw. Then I assembled the engines, the fit was somewhat mediocre as quite a
lot of dry fit and sanding was needed to get the engine faces inside the two cowling
parts. After some careful trimming of the outlet opening I glued square plastic
stock on the radiator side and another one on the wing side. Then I connected
those walls with a sheet plastic piece creating a ramp. The radiator outlet
door was also made from sheet plastic and Mr. Hobby Cement S.
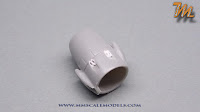
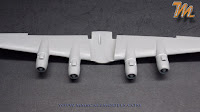
To
conclude the job on the engine cowlings and nacelles I fixed some gaps along
the seamlines using superglue and scribed some panel lines. After that I
attached the engines to the wings. Again the fit was not very good. On the
outer engines I got away with small amount of Mr. Dissolved Putty and sanding.
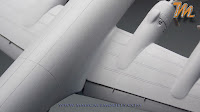
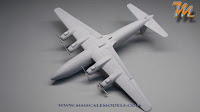
The wheel wells are part of the inner engine pair nacelles and these nacelles
were with different shape than the outer ones. Unfortunately all four engines
had the same shape which lead to big step. To overcome this issue I temporarily
attached the engines with drop of super glue and traced their outline on the
wing part of the nacelle. Then I broke of the engines and shaped the nacelles
using files. After the shape was fair enough I cemented the inner engine pair
in place. Again using Mr. Dissolved Putty I blended the nacelle parts together. Same was done for the outer pair.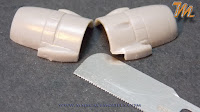


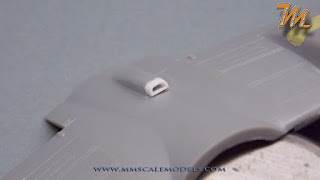
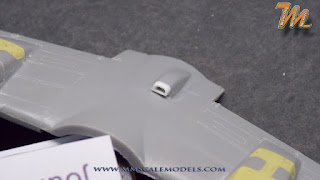
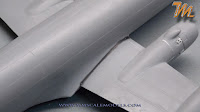
To finish the wings sub-assembly I scratch built the
intake that is located almost in the center of the aircraft’s bottom.
Now, having the wing assembly ready it was time
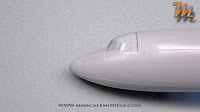
to pay attention to the fuselage. It is divided in two, lengthwise, with the
nose and the canopy being separate parts. Here the gear bay was closed using
Milliput just like on the wings. The assembly was glued with Mr.Cement S. Some
Mr. Dissolved putty was required on the nose joint as well as on the spinal
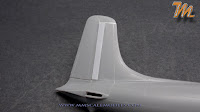
joint. The tail was molded with the complete rudder on the left fuselage halve
and this resulted in small step after I assembled the halves. I filled it with
plastic strip, sanded it smooth and rescribed the panel lines. Plastic strips
were also used on the nose, to correct its shape.
Due to the fact that I removed portion of the
wings to represent the dropped flaps, two significant openings needed to be blanked
off. The top portion was built with Milliput prior
to wings installation and the sides from plastic strips once everything was in
place.
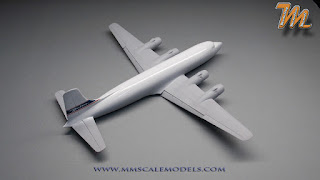
The wings to fuselage assembly required some minor
adjustments but resulted in good fit and small gaps to fill. The wing root
joints were more prominent than those on the lower fuselage side. All was dealt
with tinted CA glue. After sanding the results were very good. The same CA glue
mixture was used to fill the joint between the horizontal stabilizers and the tail
section. To finalize the assembly stage I rescribed the panel lines on the
fuselage. I also used CA glue to fill various gaps on the entire model. A tutorial on how to facilitate CA glue you can find here!
1/144 Delta Airlines Douglas DC-6 - Prep and paint
The preparation of the model for the
painting stage started with a good cleaning with IPA. Next I applied Mr.
Surfacer 1500 diluted with Mr. Levelling Thinner. The primer gave me smooth
coat with just a few spots to do some sanding on.
Next
step was to apply gloss white on the top of the fuselage. That was done using
Mr. Color C01 diluted with Mr. Levelling thinner. This combination gives really
good gloss surface. At this point I decided to try how the decals will work
before I continue with the rest of the work on this scale model.
I masked the white and proceeded towards the
blue paint that covers the engine nacelles, part of the wings and part of the
nose of the aircraft. I mixed my own colour trying to be as close as possible
to the blue on the decals. The blue parts were subsequently masked.
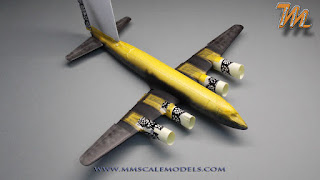
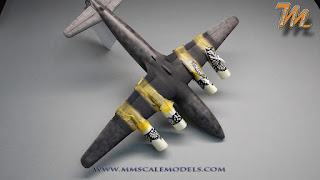
The lower surfaces of the fuselage and the complete wings (without the blue parts) are supposed to be in natural metal finis (NMF). I wanted to try to achieve some panelling effect using only one metallic shade and various underlying surfaces. I attempted marble coat with gloss black on the outer wings and on the forward and rear fuselage sections. With matt black I primed the inner wings and the center fuselage section of the aircraft.
The
NMF paint that I used was Alclad II “Chrome for Lexan”. I applied it in several
thin coats and kind of achieved the desired effect. After some masking, a layer
of the alclad peeled not from the primer or from the plastic but from another
layer of alclad. I had to do some sanding to get rid of the ridges and then
re-applied more alclad. To finish with the NMF I sealed it with “Sealer for Metalizer”
from Humbrol. For me this is the best product for sealing NMF.
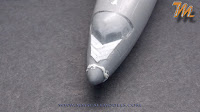
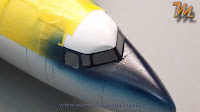
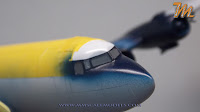
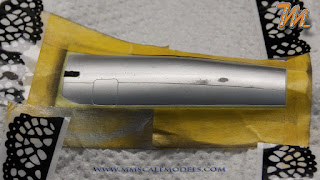
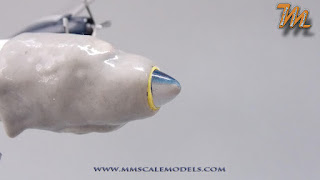
To
paint the black radome I masked around it with thin masking tape and then
extended the mask with masking putty.
1/144 Delta Airlines Douglas DC-6 - Decaling
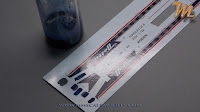
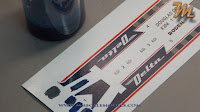
The
decals are not the best I ever used. They are very hard and brittle.
Furthermore they are not reacting very much to decal solutions. This time I
used Mr. Mark softer Neo because I ran out of my preferred Agama Hypersol. Also
the decals had some geometrical/size discrepancies with the panel lines – like
the rear door position. The red line above the cockpit windows I joined using
paintbrush. Finally, after the decals were in place they were sealed with Mr.
Super clear III.
1/144 Delta Airlines Douglas DC-6 - Weathering
There is not so much weathering on this aircraft but as any operational
machine some dirt and grime accumulate during its work. I airbrushed exhaust
stains after the exhaust stacks and made some streaks after the hinges on the
ailerons and flaps. Also I did some post shading on the lower, front panel
lines of the fuselage with much thinned black paint. The idea was to have the
post shading on the forward edge of each panel. For this I masked along each
panel line and sprayed a faint “dirt” toward the rear of the aircraft.
1/144 Delta Airlines Douglas DC-6 - Display base
The display base is comprised of several
products. First there is the plastic display stand that comes as Zvezda kit Nr:
2735. That was painted with AK 480 Extreme Metal “Dark Aluminium”. Then we have
a cheap photo frame. And finally there is a part of contemporary brochure
issued by Delta airlines. Putting those together gave nice overall appearance
in inflight configuration.
That's all for this build, stay tuned for more and subscribe to my YouTube channel
Best Regards and happy modeling
Metodi Metodiev


