Royal Navy Westland Wessex HU.5
Fly models 1/32 scale model 32011 - inbox review
Westland Wessex HU.5 - History
The Westland Wessex is a British-built turbine-powered development of the Sikorsky H-34, it was developed and produced under license by Westland Aircraft (later Westland Helicopters). One of the main changes from Sikorsky's H-34 was the replacement of the piston-engine powerplant with a turboshaft engine; the Wessex was the first helicopter in the world to be produced in large numbers that made use of a gas turbine propulsion system. Early models were powered by a single Napier Gazelle engine, later builds used a pair of Rolls-Royce Gnome engines.
The Wessex was initially produced for the Royal Navy (RN) and later for the Royal Air Force (RAF); a limited number of civilian aircraft were also produced, as well as some export sales. The Wessex operated as an anti-submarine warfare and utility helicopter; it is perhaps best recognized for its use as a search and rescue (SAR) helicopter. The type entered operational service in 1961, and had a service life in excess of 40 years before being retired in Britain.
Westland Wessex HU.5 – The kit
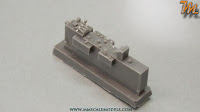
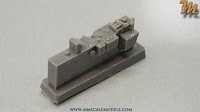
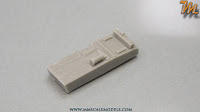
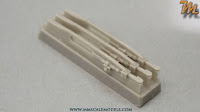
Fly models’ Westland Wessex HU.5 1/32 scale kit 32011 comes in large top opening box with beautiful picture of Royal Navy’s XT772 “Green parrot”. Inside the box, you will find seven gray plastic sprues, two sprue with transparent parts, 24 resin blocks with countless parts on them, two photo etched frets, fabric resembling paper sheet, two decal sheets, assembly instructions booklet and one sheet of full color marking options profiles. Packaging is not in par with the kit contents. All the resin comes in two bags, which, in my case, resulted in several (about a dozen), delicate buttons and levers being broken.
Westland Wessex HU.5 – Decals and Marking options
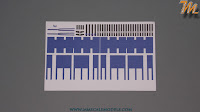
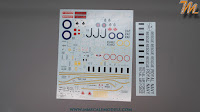
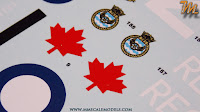
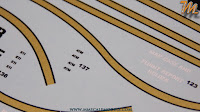
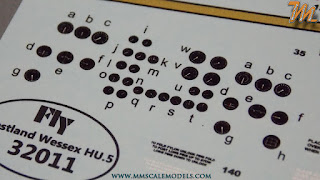
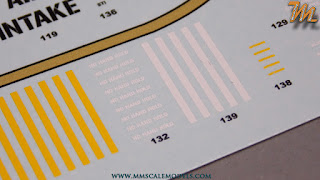
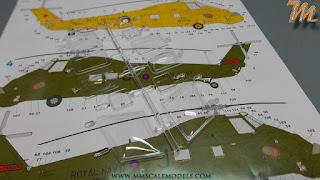
The decals come in two sheets, one large and one small. The carrier film looks thin, the print is in register and with good quality. The yellow stencils look a bit blurry but everything else is OK. The golden stripes for the “green parrot” look very convincing. There are decal instrument faces provided, which are not bad but could have been better.
There are 5 marking options available with this kit:
1. Westland Wessex HU.5: UK Military Royal Navy Fleet Air Arm 781 NAS XT772 “Green Parrot” – Admirals barge. I could not find definitive information but I will be surprised if this one does not have some sort of VIP interior. Therefore, I am not sure If it’ll be correct to build this option with the standard passenger cabin.
2. Westland Wessex HU.5: XT765 as a Royal Navy SAR helicopter with a Union Flag covering its nose and green passenger cabin door. This livery only appeared after it was partially scrapped. There are smaller profiles giving “earlier” version of that aircraft having red nose and blue door.
3. Westland Wessex HU.5: XS482 - all yellow RAF SAR aircraft.
4. Westland Wessex HU.5: again XT772 this time in overall green camouflage.
The colors are given
in Humbrol and AK interactive nomenclature.
Westland Wessex HU.5 – Assembly instructions
The assembly instructions are in A5ish booklet and are common for both 32011 and 32010 kits. There is color-coding introduced in the instructions with plastic parts being black, photo etched parts – blue, transparent parts – red and resin parts – green. This approach will definitely make modelers life a bit easier. What will make following the instructions difficult is the fact that the instructions are common for two kits hence two versions of the aircraft – HU.5 and HC.2. Another issue is that there are assemblies where you can choose between two or three different parts but there is no information to guide your choice. On the initial pages, there are the parts layouts and numbers. There are no numbers on the actual part trees so if you do not want to go back and forth trough the instructions you better copy those layouts.
The assembly steps are complicated and sometimes confusing so go through them carefully and make sure you understand what is going on before start gluing, after all the kit is very complicated itself.
Westland Wessex HU.5 – On the sprues
The plastic parts.
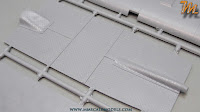
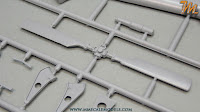
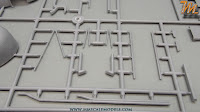
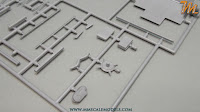
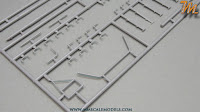
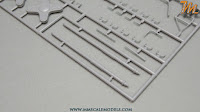
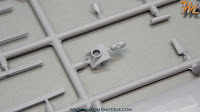
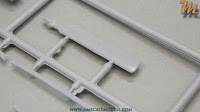
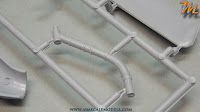
There are two identical A sprues. Each one contains two rotor blades with molded in droop and ribbing detail, gear leg, tail rotor blade, passenger sidewall ribbing and seat frame, exhaust and other smaller parts.


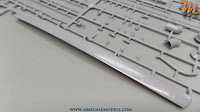
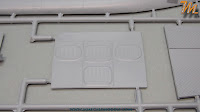
Sprue
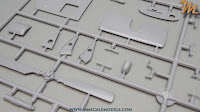
B you will find the bottom of the aircraft, the sidewalls and rear bulkhead of
the cockpit and the floor, ceiling, front and back bulkheads of the passenger
cabin. The surface details on those parts are well done especially the padding
on the passenger cabin ceiling and the hatch detail on the floor. The bottom of
the helicopter looks impressive too and there are quite a lot of parts to go
there to enhance it even further
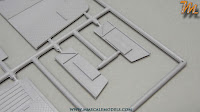
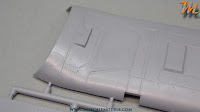
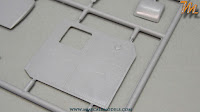
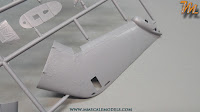
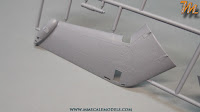
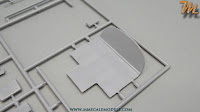
On sprue C you will find the tail which is split in two, lengthwise and the small horizontal stabilizer. Also there are three different instrument panels (only one is for the HU.5), instrument panel cover, the tail rotor hub molded together with two of the rotor blades. This sprue also contains parts for the tail landing gear, the passenger cabin door and bulkheads that are used to fill the tail boom in case you pose the tail in folded position and several misc. small parts.
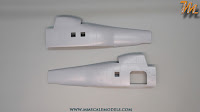
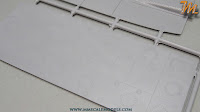
Sprue
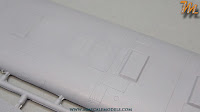
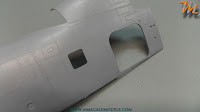
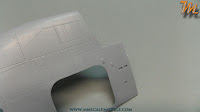
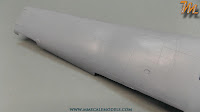
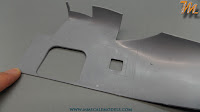
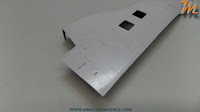
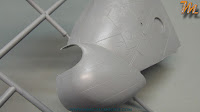
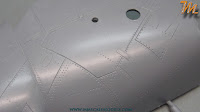
D is quite simple and contains just two parts – the fuselage halves and they
are big despite lacking the nose and the tail. The exterior surface detail is
very good with some extensive riveting and very nice panel lines. On the inside,
there is some engraving, which looks more likely to be guide for the ribs
placement. There is some flash to be cleaned and several ejector pins to get
rid of.
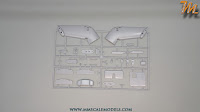
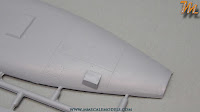
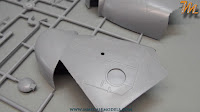
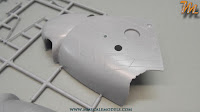
Sprue E holds the nose section, which is also split in halves; the cockpit floor, some piping and other details. The nose section cannot be posed in opened position and if you want to have engines and bays exposed you will have to build them yourself.
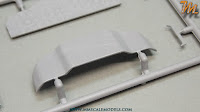
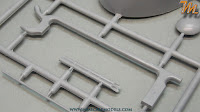
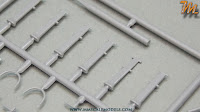
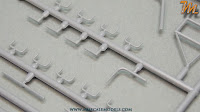
Sprue F is the last solid plastic sprue and it holds massive amount of handles, several antennae masts, some main rotor details and other bits and pieces.
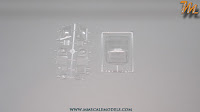
The clear plastic parts.
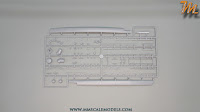
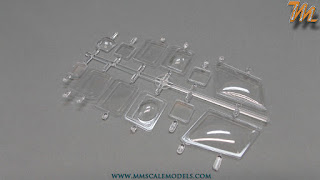
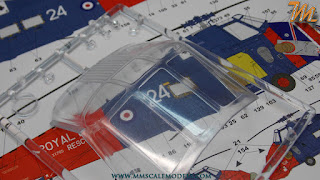
There are two clear plastic sprues in this kit, CP-A and CP-B. Sprue CP-A holds all transparencies except for the cockpit windshield and searchlight lens. The plastic on CP-A is exceptionally clear with nice shine and virtually distortion free. The bubble windows are one of the best that I have seen so far in injection molded form.
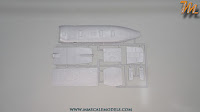
As mentioned above, sprue CP-B holds the windshield and a lens for the searchlight. Here the frames look excellent but that cannot be said for the actual windows. They look somewhat blurry probably due to some texture on the surface of the plastic. If this is the case (and its not just blurry plastic) polishing might help. The windshield is a focal point of the model and it should have been made the same way as the parts on CP-A.
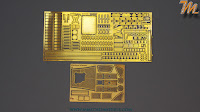
The photo etched parts.
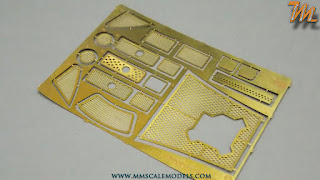
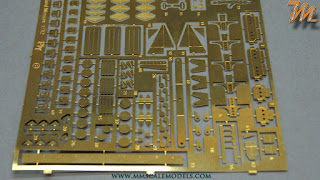
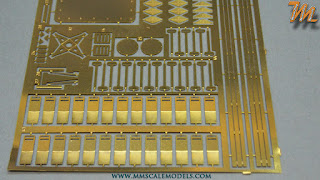
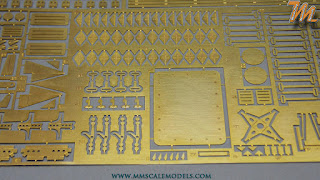
Two photo
etched frets are provided with this scale model kit. On the smaller fret there
are mostly meshes. The big fret is flooded with seat belt hardware but there
are many other parts for the rotors, the cabins and so on. Overall quality is
good and no doubt that those parts will add a lot of fine detail to this build.
The resin parts.
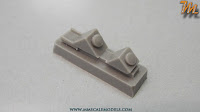
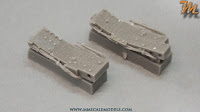
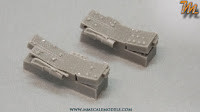
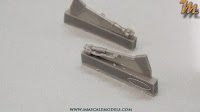
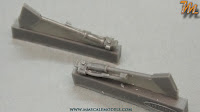
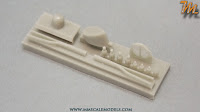
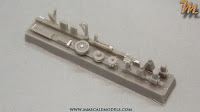
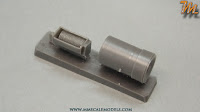
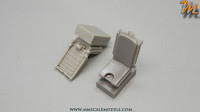
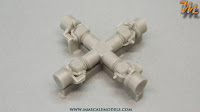
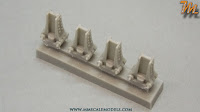
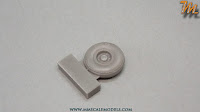
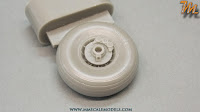
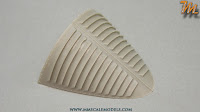
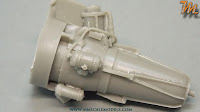
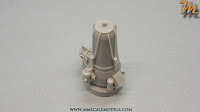
The amount of resin in this kit is massive. From the intake cover on the nose to the tip of the tail there is resin parts to go in almost every assembly step. Too bad that these beautifully crafted parts aren’t packaged properly and I found a dozen broken levers, handles and other delicate bits in the bags. The quality of the resin parts and the level of detail they have is excellent. Almost the entire cockpit is comprised of resin parts. The level of detail is most impressive. The wheels are also in resin and are very well done but unfortunately they don't have weighted effect on them. The connections between the rotor blades and the rotor hub are casted as single pieces which means that there is no way to pose your rotor blades in folded configuration. Being 1/32 scale model this may pose a challange to many of us as the unfolded size is quite large.
The paper parts
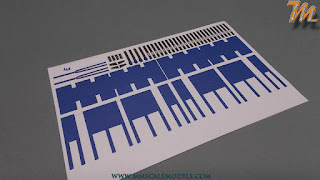
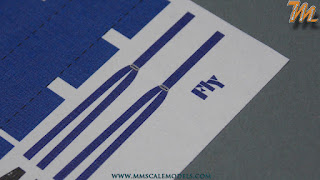
There is something different and not very common (actually very rare) inside the box of this Westland Wessex HU.5 scale model kit. You get a sheet with the seats and belts printed on it... in color. The paper itself has a fabric like texture. I haven't used such a thing so how good is it is a bit of a mystery to me.
Westland Wessex HU.5 – Conclusion
This Westland Wessex HU.5 scale model kit is very impressive. When completed it will physically stand above most models on those contest tables. Being multimedia scale model kit it provides with lots of details trough resin and PE and the modeler may transfer his efforts towards scratch building the engine bay or some other bays on this helicopter. In this scale the possibilities are endless.
Here are some positive and negative sides of this kit but those are drawn from only looking at the parts.
Negative
- Non foldable main rotor blades
- Non weighted wheels
- Pilots' cabin windows can be better (prove is in this kit)
- Not good packaging (especially the resin parts)
Positive
+ Great surface detail
+ Great overall detailing
+ Foldable tail
+ Decals are very good looking (hopefully with same behavior)
That's all for now, more when I start the build.
Best regards and happy modeling
Metodi Metodiev


